BY MOLLY E. SANDWELL

Searching for a sustainable way to improve soil health, pamper your garden, and simultaneously help the environment? Home composting will help you achieve all three of these goals with one activity.
What is Composting?
Composting is the process of breaking down organic materials into a beneficial and nutrient-rich product using natural decomposition. Compost, called “black gold” by some, is the end-product of this natural recycling process.
How is composting different from normal decomposition? While decomposition occurs eventually with all organic items, composting speeds up this process and helps it to take place without harming the environment.
How Does Composting Work?
Just four ingredients are needed for composting to happen: carbon (derived from brown items like twigs and paper), nitrogen (derived from green items like food scraps and grass clippings), water, and air.
Bacteria, fungi and other organisms like worms and nematodes feed on these materials within the compost pile, using this mix of carbon and nitrogen to reproduce. Compost piles actually include microorganisms (microbes like bacteria, fungi and actinomycetes) which are responsible for most of the breakdown, as well as macro-organisms (insects like worms, sow bugs and beetles) to help with this process.
Like all living creatures, water and air are needed to help these useful organisms do their work. The addition of water helps them to digest these materials and oxygen aerates this operation.
How Is Composting Good for the Environment?
Composting helps the environment in a number of ways. According to the EPA, composting helps contribute to healthy soil, manages climate change and reduces organic waste in landfills. You can think of it as nature’s form of recycling.
Soil Health
Making your own compost helps to improve the health of your soil, creating a natural and chemical-free fertilizer for your plants and garden. Applying your own compost to your garden increases your soil’s nutrient content and biodiversity, helps regenerate poor soil, sequesters carbon in the soil and helps soil to hold more water for longer periods of time.
Reduces Food Waste and Greenhouse Gases
Additionally, composting organic materials diverts them from ending up in landfills.
I know what you’re thinking: Why does it matter whether biodegradable materials end up in landfills? The fact is, food waste is a huge problem. When food or other organic items decompose in landfills, they often break down anaerobically (without oxygen) due to the piles and piles of waste matter present. Anaerobic decomposition generates methane, a pretty nefarious greenhouse gas that contributes to global warming. Sounds pretty unpleasant, no?
According to EPA’s Landfill Methane Outreach Program (LMOP), municipal solid waste landfills are the third biggest source of human-related methane emissions in the United States, with wasted food being responsible for 58% of landfill emissions.
By contrast, composting uses aerobic decomposition (with oxygen) to break down organic matter, doing so in a way that is much more beneficial to the environment and produces a valuable fertilizer as a result. Win-win!
How Do I Start Composting?
So, where should you begin with composting? Let’s start by looking at the space you have available. Basically, there are two options for home composting: compost bins or compost piles.
Compost Bins VS. Compost Piles
Compost bins are a great option for anyone who lacks enough space to build a compost heap or pile and are a perfect choice for apartments or homes with smaller yards. There are both static compost bins and tumbling compost bins.
You can also build yourself a compost bin from wood, pallets or wire, or simply purchase one from a retailer. The tumbling bins are especially nice, as compost requires some tossing ever so often to help break everything down, and these bins prevent you from having to manually perform this.
Compost piles, by contrast, are a great option for larger yards or for composting large amounts. You should try to place your open-air compost heap or compost pile somewhere out of sight, as these piles tend to spread. Compost piles will need to be turned by hand (or rather by rake or shovel) to keep everything decomposing nicely.
Additionally, you’ll have to keep an eye on garden pests like rats and mice when opting for an open-air compost.
Location
No matter the method of composting you choose, be sure to station your compost bin or pile somewhere partially shady and dry. You don’t want compost getting too wet, so steer clear of areas with lots of water and select areas with good drainage.
At the same time, you don’t want your compost drying out too much, so look for a little shade as well.
Layer Compost Materials
There are two types of items that will make up your compost: green materials and brown materials. Green materials are also referred to as wet materials; these include kitchen scraps and grass clippings. Brown materials or dry materials, include items like twigs, dead leaves and certain paper items.
Compost should contain more brown materials than green materials. The EPA’s home composting guide recommends you have at least 2 to 3 times as many brown items as green ones. You’ll also see these referred to as browns and greens.
What To Put in a Compost Bin
You should include the following items in your compost bin:
Greens (1 part)
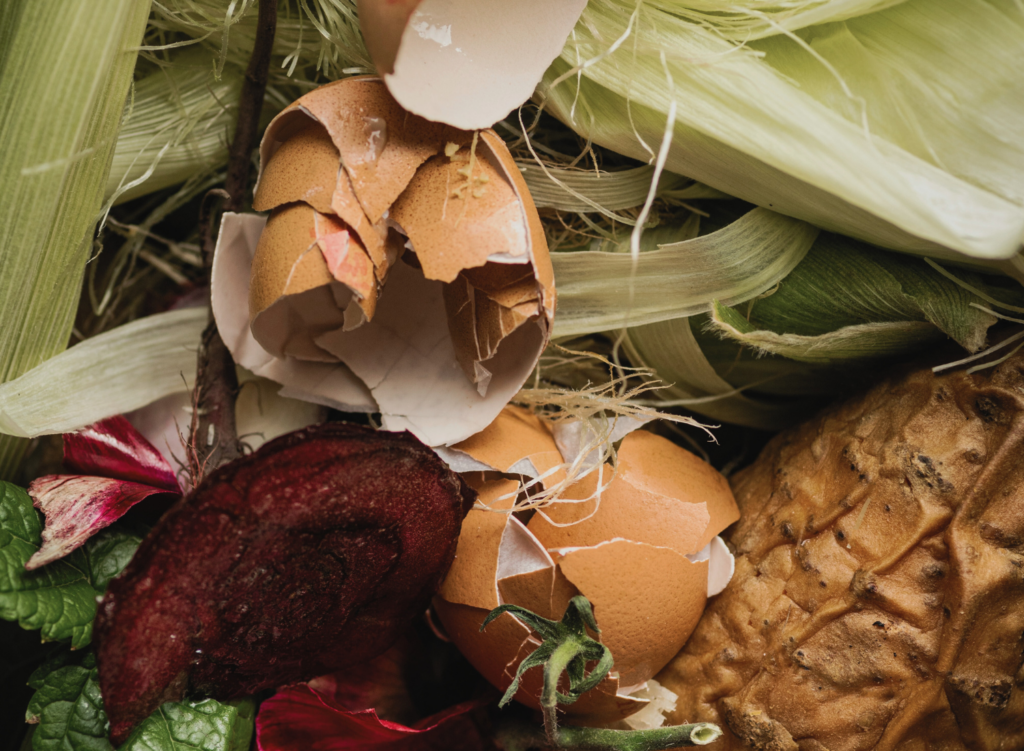
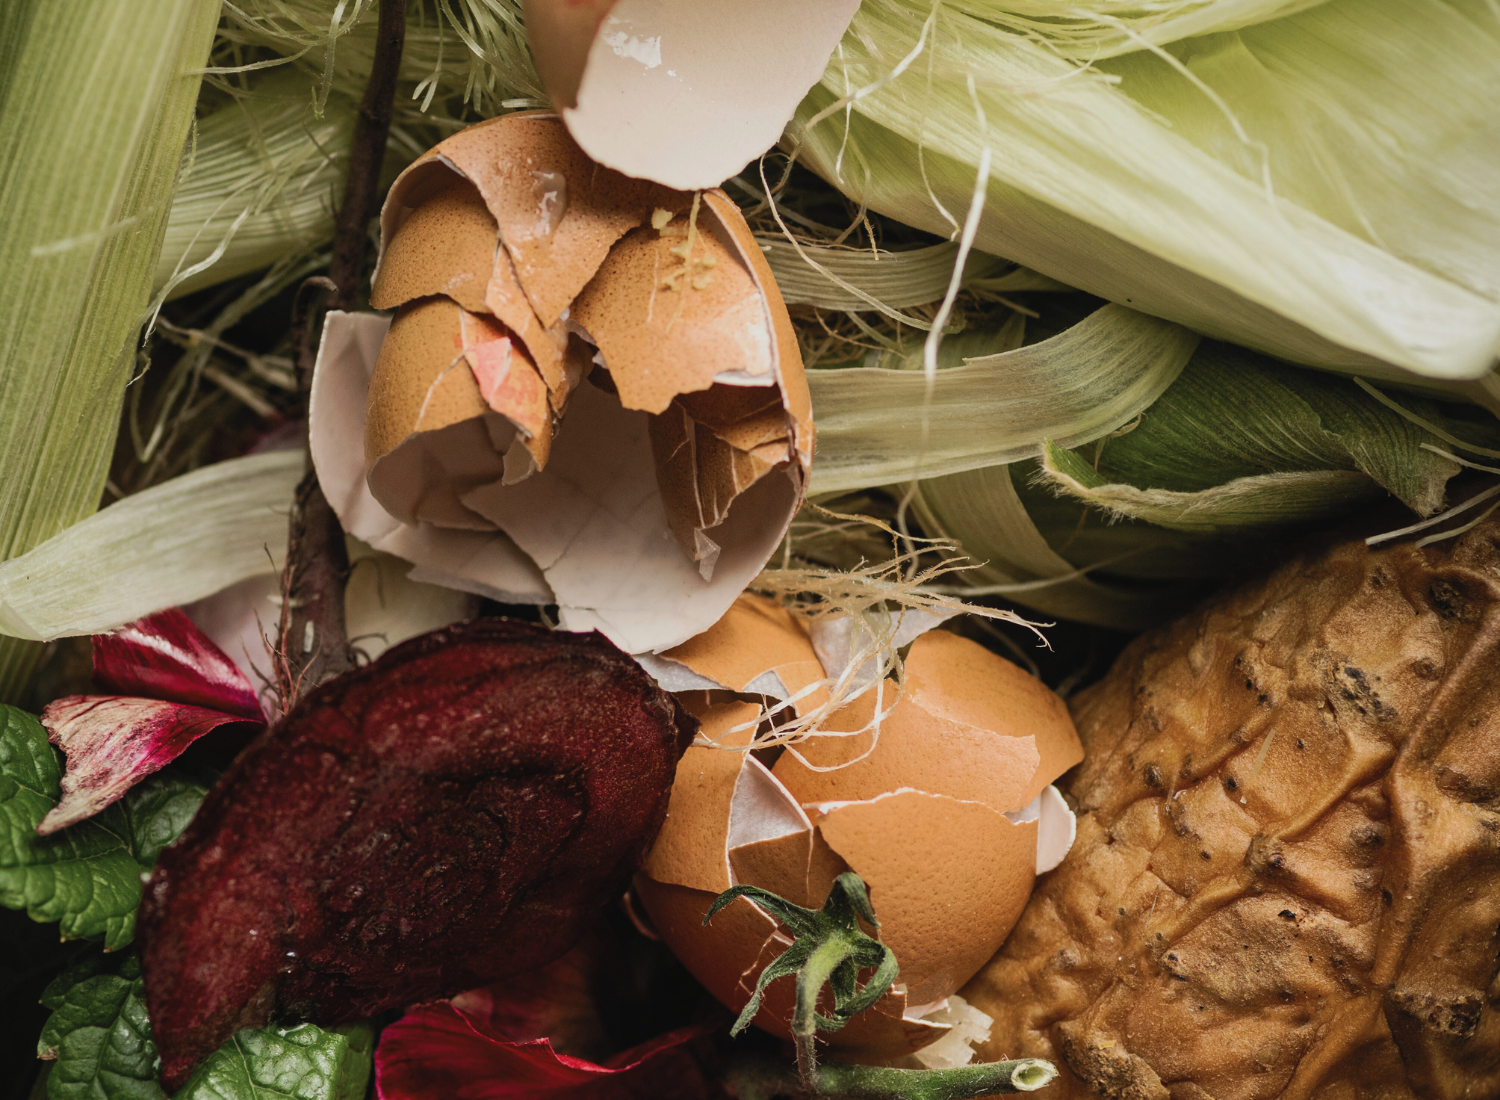
- Eggshells (crush first)
- Coffee grounds and tea bags (remove staples)
- Fruit and vegetable scraps
- Grass clippings
- Weeds and green plant cuttings
Browns (2 to 3 parts)
- Twigs and dry leaves
- Dry prunings and straw
- Shredded cardboard and uncolored, non-glossy paper
- Sawdust and wood clipping from untreated wood
What Not To Put in a Compost Bin
There are also several items that should not be added to your compost pile or bin. Some of these items will not break down, others will attract animals, and a few will make your compost unusable. These include:
- Meat products and bones
- Dairy products
- Oils, fats or grease
- Compostable food containers and utensils (home compost piles do not reach high enough temperatures to break these down)
- Glossy paper and produce stickers
- Treated wood
- Sick or diseased plants
- Weeds with seeds
- Herbicide-treated greens
- Pet waste, animal feces or cat litter
Composting Steps
1. Begin your compost pile or bin with a base layer of browns
These will help to absorb any liquids and allow air circulation at the base of your compost.
2. Layer the compost with alternating piles of greens and browns
Try to keep your layer of browns 4 to 8 inches thick and greens 2 to 4 inches. Many people choose to save up their greens with a small compost collection bin in their kitchen. Similarly, browns can be collected over time and added as needed.
3. If necessary, add water to dampen the pile
Both air and water are integral to making compost. Add water to maintain moisture, but not too much. When combined your materials should have “a consistency like a wrung-out sponge.”
4. Turn the pile as needed
Air circulation is necessary to help items decompose — remember oxygen-less decomposition is not what you want. Give compost bins a tumble every now and again or use a garden fork for compost piles, turning the outer portions of the compost inward.
How often should you turn your compost?
For compost piles, use a pitchfork or shovel to turn the pile every 2 to 4 weeks. For compost bins, follow the manufacturer’s instructions. Most tumbling bins suggest spinning the bin every 2 or 3 days.
5. Manage your compost
If your compost becomes too dry, dampen it and turn it. If your compost develops an odor, it may have too much moisture. Counteract this by adding more browns and giving that compost a tossing. If the compost is working, you will see it heating up. When correctly done, your compost should reach 140 degrees F.
6. Cure and use your compost
Your compost is ready for use in your garden when most items have decomposed, it stops heating and you are left with a dark and crumbly compost. It should smell like fresh soil. Compost will be ready for use in 3 to 5 months if the pile is well-maintained. Piles that are not as closely monitored can take up to a year to fully decompose.
Once the compost appears ready, let it cure for a few weeks before using and do not add any new items. Curing is an important step in the composting process. Applying immature compost to your garden can damage seedlings and harm beneficial organisms; as a result, be sure to let compost cure for 2 to 4 weeks before use.
Before applying, sift out any large items that haven’t broken down and use your new compost around the garden. Sprinkle it around flowers and trees or potted plants and see the added benefits to your backyard sanctuary!
Sustainable Composting Tips
Those are the basics of home composting! Below you’ll find some additional tips and tricks to help you along the way on your home-composting voyage. After that, you’re all set!
- Remember, compost is not the same as soil, it is more akin to fertilizer or soil amendment, so use it sparingly when utilizing compost in your garden. For new garden beds, you can apply a layer 3 to 4 inches thick to the surface and work it into your soil. For existing garden beds, apply a layer about an inch deep (or slightly less) each year.
- Composting shouldn’t smell. If your compost develops an odor, try increasing the ratio of browns in your compost and be sure you are turning it enough to aerate the compost.
- If your compost is attracting unwanted pests, try to keep food scraps buried in the center of the pile. Consider adding a wire lid to keep larger pests out.
- This article covers how to carry out hot composting, which requires the correct ratio of browns to greens (2 to 3 parts brown to 1 part greens). However, you can also opt for cold composting which is more low maintenance. In cold composting, the materials are still added to the pile, kept moist and mixed occasionally, but the ratio of greens and browns isn’t as closely monitored. Cold composting will take longer to decompose as a result, but will eventually have the same end result.
- Want to speed up the composting process? Consider creating a compost accelerator also known as drunken composting. Supposedly, drunken composting uses beer, soda and ammonia to speed up the composting action so compost is ready in weeks as opposed to months.

Molly E. Sandwell is a freelance writer and editor based in Southern California. She frequently writes about sustainability, plant-based living, home and gardening, and DIY projects. When not ambling about in nature, you’ll often find her wrapped in a cozy sweater, accompanied by her cat, a cup of coffee, and an indulgent stack of books.


